|
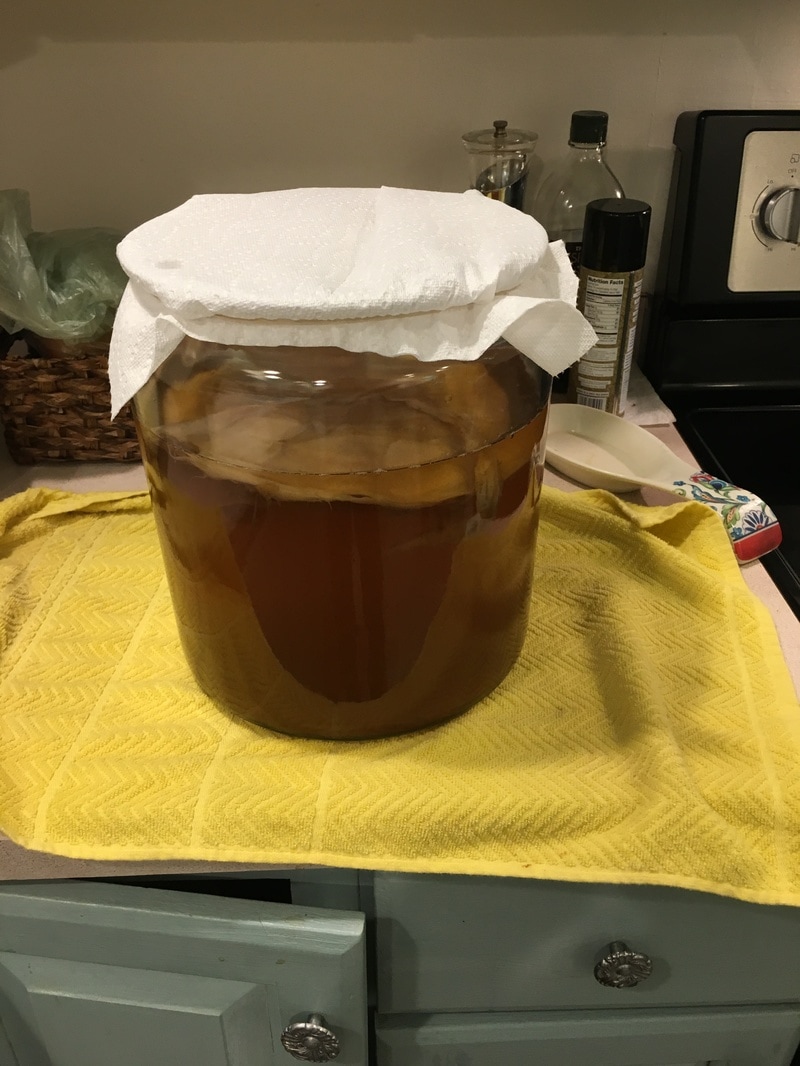
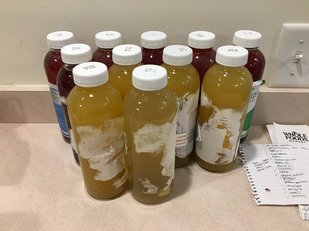
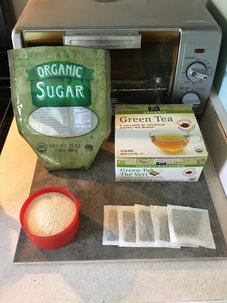
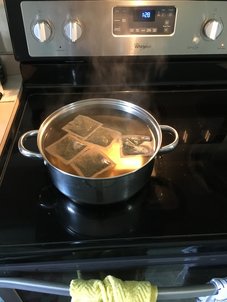
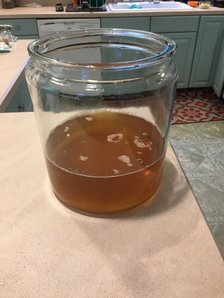
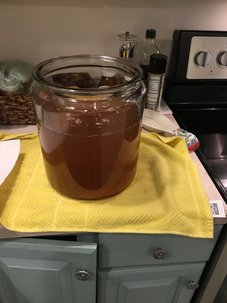
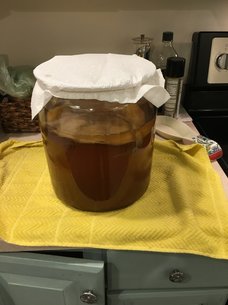
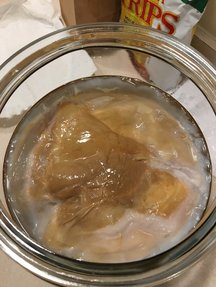
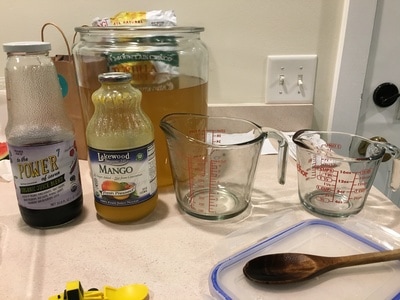
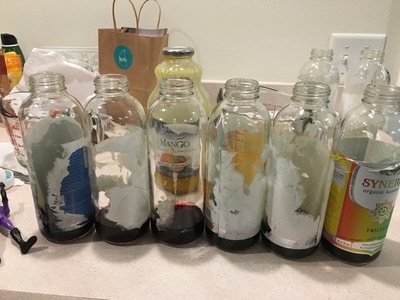
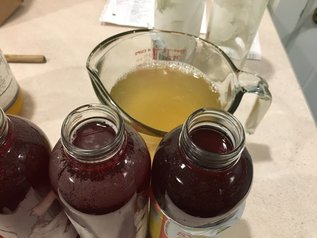
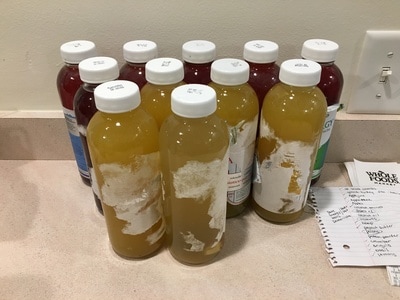
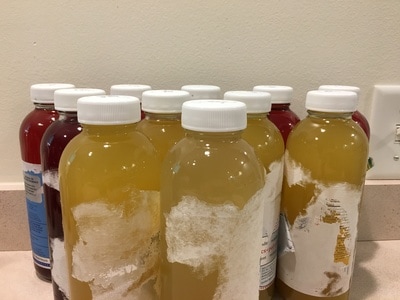
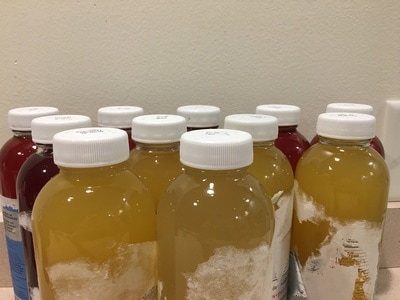
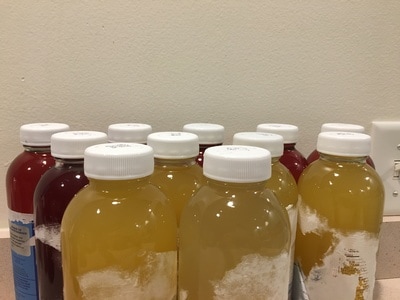
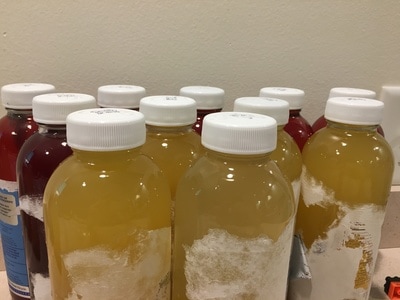
Kombucha is a delicious fizzy drink loaded with nutrients and probiotics and can help you to improve your health in many profound ways! The health benefits are outlined in this great Dr. Axe article. I've been making my own kombucha for several years now and after many failures have figured out a good system. Although I messed it up several times at first, it's because I was trying to make it too complicated! It's really super simple and easy! Don't overcomplicate it. The recipe I use for sugar to tea to water ratios is shown in this video. My two favorite things about making Kombucha are: 1) It's delicious and nutritious! 2) It costs about $4.00 to make 2 gallons. Ok so here goes... First you'll want to get a SCOBY. SCOBY stands for "Symbiotic Culture of Bacteria and Yeast." Sounds kinda gross, right?! But this is the good stuff! The SCOBY is the thing that consumes the sweet tea and gives off all the health benefits. Getting a SCOBY is very easy as people have a new SCOBY every time they make a batch and will literally give them away. I'm happy to gift a SCOBY to anyone local! Also, making one is simple as well. You can get a store-bought Kombucha and prepare a scoby from the bottle. That's what I did to ensure purity. Making a SCOBY will be the topic of another post. So now that you've got your SCOBY along with some starter Kombucha, you're ready to brew! It's important to use either straight black or straight green tea with nothing else added, as you don't know how the added stuff will react. No herbal teas here. The ideal ratio I have found for the sweet tea is as follows: 1 cup of sugar and 5 bags of tea for each gallon of water. Also remember the sugar is for the SCOBY, it's what drives the fermentation reaction which produces all that healthy and bubbly goodness. You can see here that I'm using green tea. I prefer the more delicate taste of a green tea-based Kombucha. Black tea works just fine too, I simply prefer green. First you'll want to bring water to a boil, preferably in 1 gallon incriments for simplicity sake. Once the water has boiled, remove it from heat, add your sugar and stir in with a wooden spoon (wood is best since plastic may leach chemicals), then add your tea bags. Once the sweet tea has cooled to room temperature, remove and discard the tea bags and pour the kombucha into a glass container. Definitely use glass for this part since plastic will most definitely leach chemicals in this process! I make two separate one gallon batches to give me this: The glass container I use can hold about 2 1/2 gallons or so. I don't fill it to the top. With the scoby added, it looks like this: Notice the paper towel and rubber band over the top. This was a part I messed up several times. I was getting fancy trying to use a cheesecloth, but the holes in it were too large and fruit flies were getting into the brew - gross! So I had to throw several batches away. The paper towel works great because it allows plenty of air in for the fermentation to occur plus it seals it enough so no critters can get in. Next store the batch somewhere out of the way, preferable in a dry area. That could be in a closet, it could be in a cupboard, it could be on top of your fridge...doesn't really matter so much as it not going to get direct sunlight and isn't too humid. The length of the time for brewing will vary depending on temperature. A good rule is that for warmer summer days it takes about a week to a week and a half, while in the cooler months about 2-3 weeks will do. This is another time to keep it simple. Take it down periodically and give it a taste test. Once it tastes how you like, which for me is slightly sweet with a light vinegar taste, you're ready to start bottling! Note: this is where many people stop because at this point you do have Kombucha and it will be slightly fizzy and tasty and all the health benefits are there. However, the bottling is great because you can add unique flavors as well as create increased carbonation. If we were to look at this from the side we would see many layers to the SCOBY. The SCOBY will always eventually fill the dimensions of the container on the surface. Each new layer could be removed and used as a separate SCOBY. In fact, you could even take a tiny piece and it would eventually become a larger SCOBY. They grow at a very rapid rate given the right conditions. At this point, remove the SCOBY and set in a separate container along with some of the Kombucha to serve as starter fluid for your next batch. Use enough fluid to cover your SCOBY. This goes without saying, but make sure you wash your hands thoroughly anytime you handle the SCOBY to preserve the unique culture. You can put that container into your fridge until you're ready for the next batch, and it will keep just fine for months. The low temperature will slow down the reaction to the point where almost nothing will be happening and the acidic composition of the Kombucha will preserve the SCOBY. Now on to the bottling! I use recycled GT Dave's bottles because the plastic lids keep an excellent seal and can let you know how carbonated your Kombucha is becoming based upon how much the lids are "popped-up." That said, I've also have great success recently with the swing-top bottles. One advantage of the swing-top bottles is that the rubber seal will vent as needed to prevent overcarbonation. One disatvantage is that the small top can be make for a trickier fill vs. the wider mouth of the GT Dave's bottles. Make sure to sterilize them by washing them in your dishwasher beforehand. Here is the bottling setup. I use the smaller measuring cup for my juice and the larger one for pouring in the Kombucha. I add about 2 oz of juice to each of the bottles for both flavor, and to further drive the reaction so the Kombucha becomes nice and fizzy. Some great ones to add are pomegranate juice, mango juice, and lemonade with some fresh ginger added. Orange juice did not turn our well. Experiment with this and have fun! You want to fill the bottles close to the top, that way there's less air that needs to be competed with to build carbonation. Next, put the lids on nice and tight, set them aside somewhere safe (could be the same place you brewed your Kombucha), and wait. Usually 2-4 days is best for the secondary fermentation. Beyond that and you could have a bottle bomb, which is too much carbonation that blows everywhere when you open it; think of shaking champagne before you open it, not fun when kombucha is all over your kitchen. Below are images of the initial bottling, then day 1, day 2, day 3, and day 4 from top left across to bottom right. You can see the lids are slightly raised by day 4. Voila! You now have fizzy and delicious home brewed kombucha! What I like about the GT Dave's bottles and caps is that when the cap bulges the carbonation is at a good spot. What's interesting is that different juice/fruit combinations added will ferment quicker than others. In this one the lemon/ginger went the quickest, the mango number two and the pomegranate mix was the slowest.
Put them in the fridge to slow the reaction and enjoy a much better taste. Enjoy your Kombucha and now you're ready to brew again!
3 Comments
4/27/2020 07:25:50 pm
before anything else, I want to thank you for sharing to us the
Reply
11/29/2023 04:05:17 am
What is the Hospital and Its Importance?
Reply
Leave a Reply. |
Drs. A & BWe want to share as much health information with you as possible, so here is some healthy reading for healthy bodies and souls. CategoriesArchives
April 2020
|
 RSS Feed